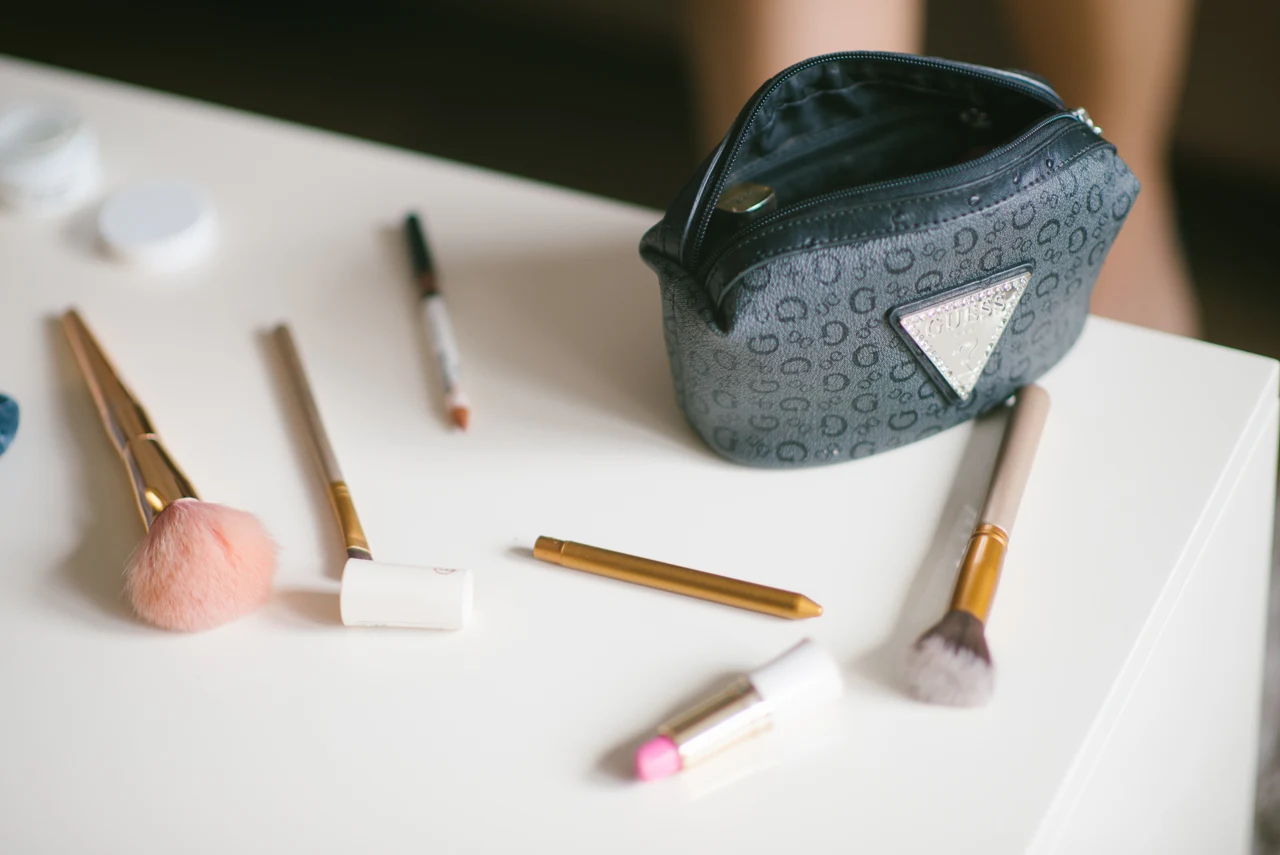
The drying space belongs in the brush-cleaning plan before the first brush gets wet. Real Techniques’ published method uses its cleansing palette and gel, directs rinsing with the bristles pointing down and ends with flat drying. A narrow counter can accommodate that sequence more clearly when the working area and the drying area have different jobs. The arrangement below is an original planning example based on those maker instructions, not a cleaning test or a measured drying-time claim.
Reserve a flat place before starting
Set aside a clean, flat surface where the brushes can remain while they dry. The maker’s care guidance says to squeeze out excess water and dry brushes flat, and specifically advises against leaving them standing upright while wet. A tall brush cup may hold the tools neatly during ordinary storage, yet that does not make it the flat drying surface described in this method.
For an imagined small counter, place a clean towel on the dry side and keep the palette, gel and water on the working side. The division is an organizational choice for this example, not a prescribed separation distance. What matters is that a brush can move to its drying position without requiring you to clear away a crowd of bottles after your hands and tools are already wet.
Follow one brush through the maker’s sequence
Real Techniques’ eight-step method begins with the palette’s collapsible grip extended and held between the fingers. It then calls for a small amount of its cleansing gel and a little warm water in the palette. The brush is gently swirled over the palette surface and ridges until the product and buildup have been removed from the bristles.
The next stage is rinsing with the bristles pointing down. The maker says to repeat the relevant cleaning steps if the water is not running clear, then carefully squeeze excess water from the bristles and place the brush flat until completely dry. Keep those actions in order: the drying area receives a brush after the rinse and excess-water stage, rather than becoming another place to wash it.
The same instructions call for new gel and water for each brush. In this arrangement, the next tool therefore starts a fresh pass through the working area. A bowl of used cleaning water is not being treated as the supply for every brush simply because it is already on the counter.
Make room for the brush you actually have
An original layout sketch can show the handle and head lying along the towel instead of balancing the tool across a narrow container. Keep the whole brush supported in the position required by its care instructions. The sketch is a space plan, not a drawing of the Real Techniques brush design or a promise that a particular shelf fits every handle length.
If the flat area is too short for the actual tools, move the task to a suitable surface before beginning. Replacing the care instruction with an upright cup does not solve that mismatch. Nor does buying another cleaning accessory automatically create somewhere to leave the tools afterward. The ordinary space needed for the final stage is part of the task.
Give drying its own finish point
The maker’s stated endpoint is complete dryness, not a time that every brush will meet. The plan should leave the tools undisturbed in their proper position until that endpoint is reached. Do not infer from an evening cleaning session that every brush is ready the next morning, or from a dry-looking handle that the bristles have reached the same state.
These instructions belong to the cited Real Techniques method and products. For another tool or cleanser, retain its own care directions rather than transferring the sequence by appearance. The useful purchase question is whether an actual gap remains—an appropriate cleanser, for example—after the existing tools and the working space have been accounted for.
Sources & further reading
Published sources for the details and examples discussed in this story.