Removing an identified gel-polish manicure is different from guessing what an unknown coating contains. This feature summarizes the American Academy of Dermatology’s published home-removal method, then adds an original plan for preparing the session. It is not a procedure we performed. Do not transfer it to hard gel, acrylics, extensions or an unidentified system; ask an appropriate professional when the existing coating or its suitability is uncertain.
The concise published method
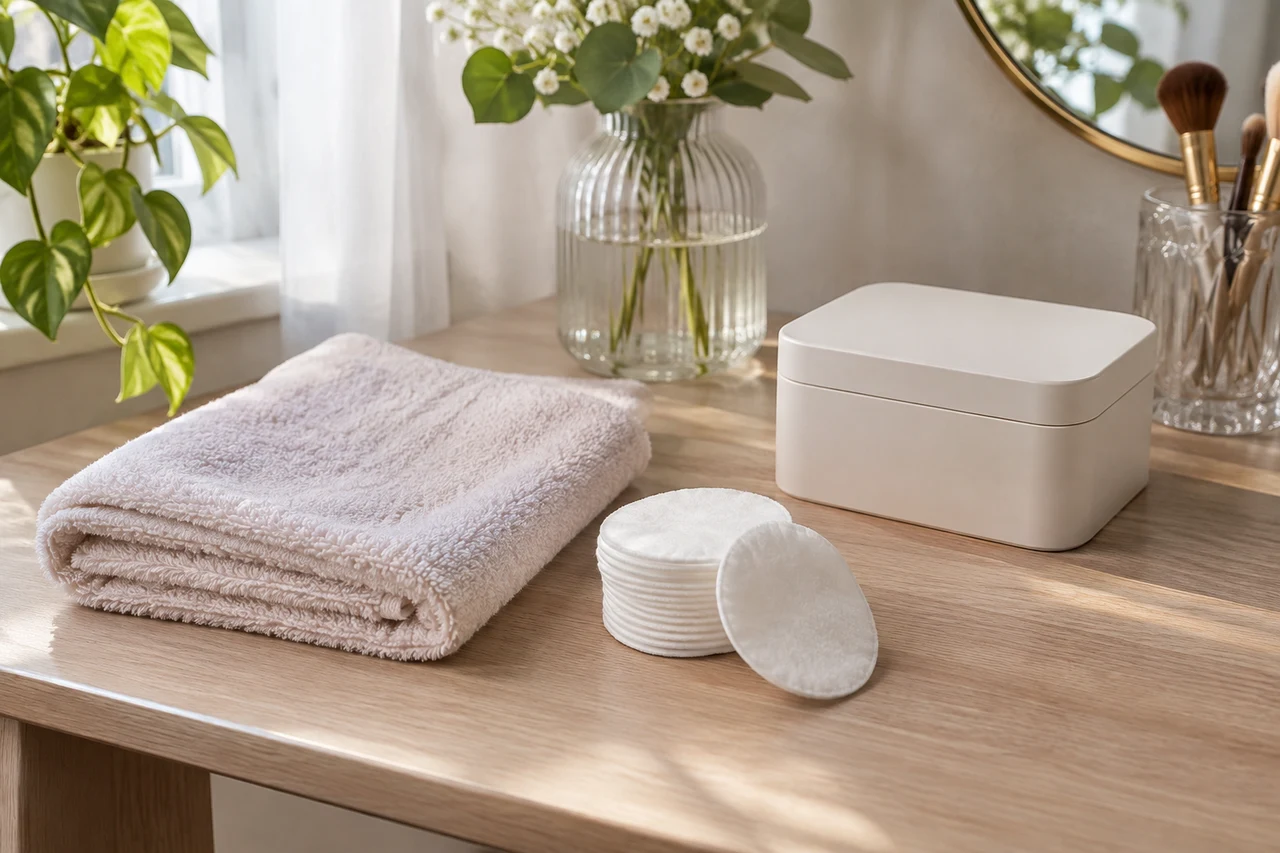
AAD dermatologist Shari Lipner’s method uses 100% acetone, petroleum jelly, nail-sized cotton, plastic food wrap, a washcloth and a towel. Protect the work surface with plastic wrap beneath a thick towel. Put a thin jelly layer on cuticles and surrounding skin. Wet the fitted cotton with acetone, place it over each nail and seal with food wrap without constricting circulation.
Leave the wrap for ten minutes. After removal, gently wipe remaining polish from the nail only using a warm-water-dampened washcloth. Wash with mild soap and water. Apply jelly to cuticles and surrounding skin daily for seven days. AAD advises against picking, filing or using an orange stick to remove the gel. Working on one hand at a time is an option. These are attributed instructions, not our tested result.
Decide whether the session should happen now
Imagine arriving home intending to change a known manicure before another task. First establish that the correct method and appropriate supplies are actually available. If the product system is uncertain, postpone the home procedure rather than use a familiar color name as proof. An old booking description may be a clue, but an unresolved enhancement underneath still matters.
Read and follow the actual acetone product’s warnings and directions, as well as the published guidance. Do not heat solvent, improvise a powered removal device or combine methods from several systems. This feature offers no assessment of injured or painful nails. Those concerns need qualified advice rather than a cosmetic preparation plan.
Set out what will be needed before starting
Choose a time when the work area can remain dedicated to the task. Put the relevant instructions where they can be read, with supplies arranged so that another activity does not require moving everything halfway through. Keep the product in its original labeled container rather than decanting it into an unidentified household bottle.
If someone is helping, agree who is carrying out which action and keep the same applicable instructions available to both people. A helper is not a substitute for identifying the coating. Nor should a photograph of an attractive finished manicure be used to infer which removal process belongs to it.
Buy for the known method, not an uncertain problem
Check what appropriate standard supplies are already available before ordering a large accessory kit. A named kit still needs its actual contents and directions examined. More files, scrapers or stronger-sounding marketing language do not make an uncertain coating suitable for this method. No product or kit has been compared here.
If the coating does not come away as expected, do not force it off or invent a longer or repeated soak from this summary. Seek appropriate professional guidance. The aim is to follow an applicable published method with clear limits, not achieve a new manicure at any cost. Keep the aftercare information available after clearing the work area; a session is more than the color disappearing.
Sources & further reading
Published sources for the details and examples discussed in this story.